Redis on Autopilot
Redis is an in-memory data store that serves countless applications as a cache, database, and message broker. In this article, we're going to see how we can use the autopilotpattern/redis image to easily deploy and scale a highly available Redis service, which we will then use in a sample Node.js application.
A big shout out to Dave Dunkin and Faithlife for all the work they did to make the Redis Autopilot pattern a thing.
Setup the project
Let's create a directory for our project and download the setup.sh from autopilotpattern/redis/examples/triton.
~ $ mkdir myapp~ $ cd myapp# bootstrap Triton project~/myapp $ curl -sO https://raw.githubusercontent.com/autopilotpattern/redis/3.2.8-r1.0.1/examples/triton/setup.shchmod a+x setup.shCreate a docker-compose.yml in our directory that looks like this:
version: '2.1'services: redis: image: autopilotpattern/redis:3.2.8-r1.0.1 mem_limit: 4g restart: always # Joyent recommends setting instances to always restart on Triton labels: - triton.cns.services=redis # This label sets the CNS name, Triton's automatic DNS # Learn more at https://docs.tritondatacenter.com/public-cloud/network/cns - com.joyent.package=g4-general-4G # This label selects the proper Joyent resource package # https://www.joyent.com/blog/optimizing-docker-on-triton#ram-cpu-and-disk-resources-for-your-containers environment: - CONTAINERPILOT=file:///etc/containerpilot.json - affinity:com.docker.compose.service!=~redis # This helps distribute Redis instances throughout the data center # Learn more at https://www.joyent.com/blog/optimizing-docker-on-triton#controlling-container-placement env_file: _env network_mode: bridge ports: - 6379 - 26379 # These port delcarations should not be made for production. Without these declarations, Redis # will be available to other containers via private interfaces. With these declarations, Redis is # also accessible publicly. This will also result in a public redis CNS record being created, # in the triton.zone domain. # Consul acts as our service catalog and is used to coordinate global state among # our Redis containers consul: image: autopilotpattern/consul:0.7.2-r0.8 command: > /usr/local/bin/containerpilot /bin/consul agent -server -bootstrap-expect 1 -config-dir=/etc/consul -ui-dir /ui # Change "-bootstrap" to "-bootstrap-expect 3", then scale to 3 or more to # turn this into an HA Consul raft. restart: always mem_limit: 128m ports: - 8500 # As above, this port delcarations should not be made for production. labels: - triton.cns.services=redis-consul network_mode: bridgeDeploy Redis
Be sure you've set up your Triton account and configured your Triton environment, then execute:
# skip these commands if running locally~/myapp $ eval "$(triton env)"~/myapp $ ./setup.sh ~/path/to/MANTA_PRIVATE_KEYThe setup.sh script will validate your Triton environment and create an _env file containing configurable environment data for your Redis deployment. See the autopilotpattern/redis configuration documentation for details on all configuration options. For this demonstration be sure to configure:
MANTA_BUCKET- Something like:/MANTA_USER/stor/redis-snapshotsMANTA_USER- Your Manta username
The Redis Autopilot Pattern image uses Manta to persist its data snapshots. This is critical to ensuring the containers may be destroyed/re-created without losing data.
Let's deploy:
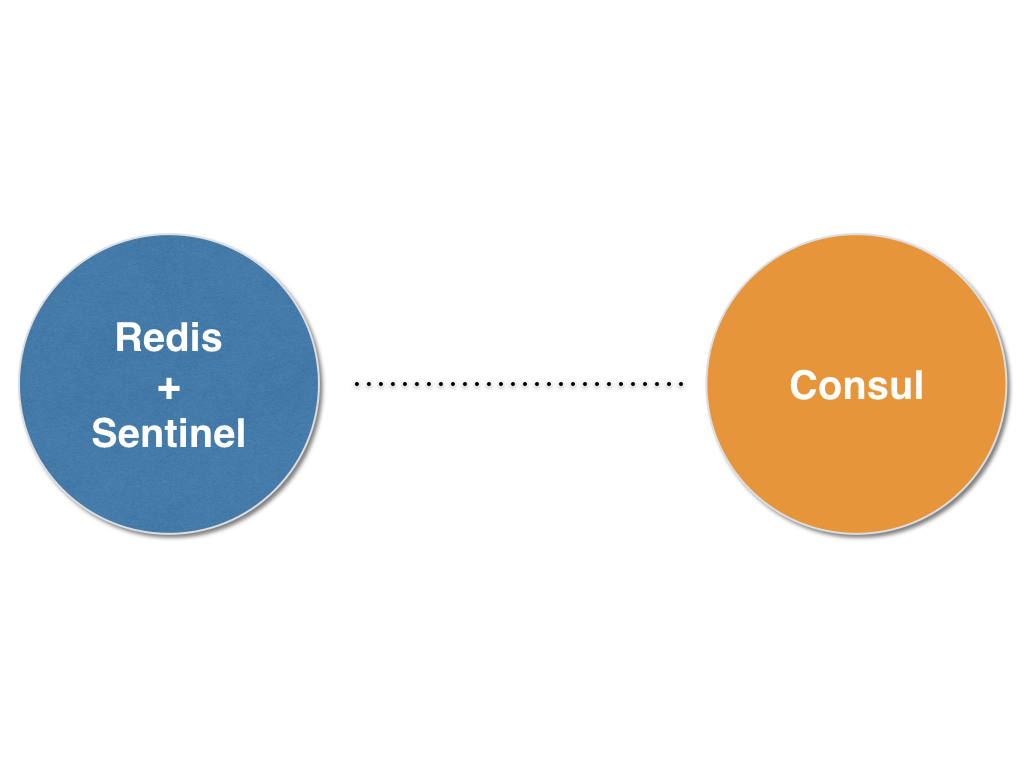
~/myapp $ docker-compose up -dIn a few moments, we'll have one running Redis container and one running Consul container, which we're using for state and coordination. We can issue some Redis commands once the containers are up:
~/myapp $ docker exec -it myapp_redis_1 redis-cli127.0.0.1:6379> keys *(empty list or set)127.0.0.1:6379> set mykey testOK127.0.0.1:6379> get mykey"test"
Scaling
We now have a single Redis instance and have verified it's working. In production though, we will want to ensure some level of high availability. The Autopilot Pattern enabled Redis image has us covered here, as each container also runs a Redis Sentinel process.
Sentinel processes can cooperatively designate a primary Redis process, and have the remainder act as replicas, mirroring the designated primary. Sentinel-enabled Redis clients are then directed to the proper Redis instance, whether that's the primary for read/write capability, or a replica if the client requests read-only access.
When a Redis container comes online, it checks for other running Redis containers within the application. If found, it configures itself to be a replica of the existing primary, and configures its Sentinel process to join the Sentinel group. This makes it exceedingly simple to scale up our Redis service into a highly available configuration:
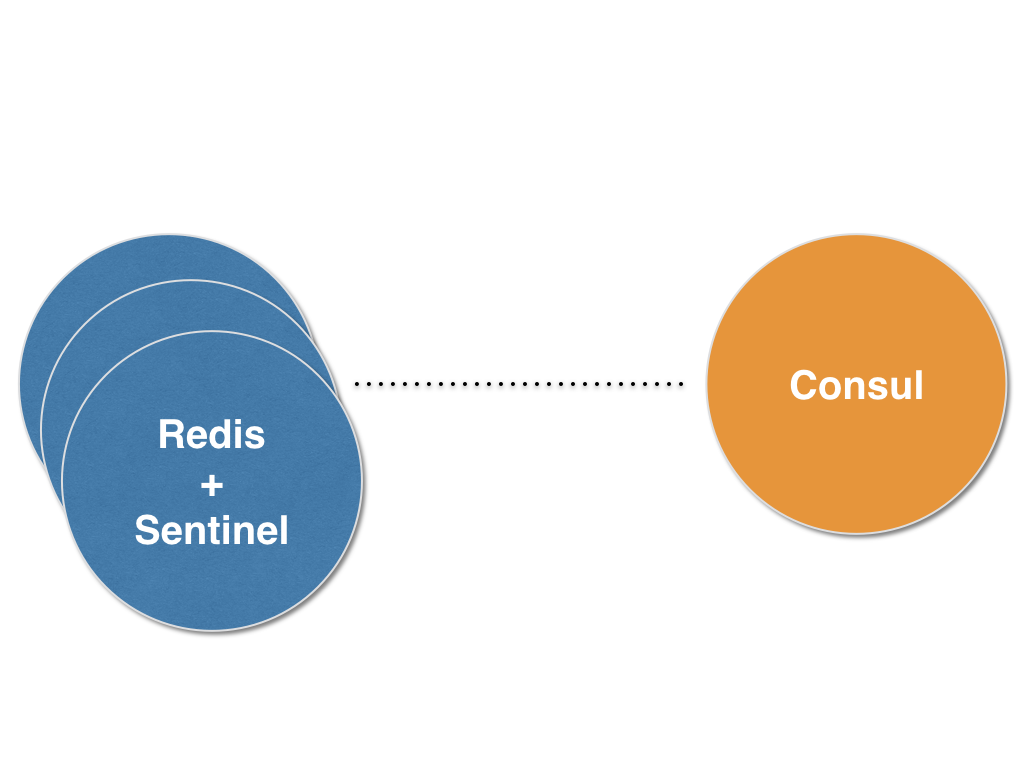
~/myapp $ docker-compose scale redis=3This command will take a few moments as two additional Redis containers are deployed, started, and self-configured. Upon completion, we'll have three Redis containers, each running a properly configured Redis and Sentinel process. One Redis container will be configured as the primary while the other two will be configured as replicas of that primary.

Verify things are working as expected with the following commands:
~/myapp $ docker exec -it myapp_redis_1 redis-cli -p 26379 sentinel masters~/myapp $ docker exec -it myapp_redis_1 redis-cli -p 26379 sentinel slaves mymasterNote: While we use the terms "primary" and "replica" throughout this article, Redis uses more archaic terms. In the above example, the sentinel masters command is showing you the primary redis process, while sentinel slaves mymaster is showing you the replicas.
We're telling redis-cli to connect to port 26379 here instead of the standard Redis port 6379, as the Sentinel process listens on 26379. The first command should return information for one primary, while the latter command should return information for two Redis replicas. Let's verify our data is being replicated as we expect (assuming myapp_redis_1 is still our primary process):
~/myapp $ docker exec -it myapp_redis_1 redis-cli set test:key abc123~/myapp $ docker exec -it myapp_redis_2 redis-cli get test:key~/myapp $ docker exec -it myapp_redis_3 redis-cli get test:keyThe first command will respond with "OK", while the two following will respond with "abc123", demonstrating that our Redis replicas are properly replicating from the Redis primary.
Add a web component
Let's add a Node.js service that leverages the Autopilot pattern and serves the value of our test key from Redis. Either download an updated docker-compose.yml or update your existing docker-compose.yml to include the following:
webserver: image: jasonpincin/ap-redis-example-webserver:1.0.0 restart: always mem_limit: 128m ports: - 8000 expose: - 8000 env_file: _env network_mode: bridgeYou can see the code behind this example service on github.com under autopilotpattern/redis/examples.
Bring this new service up:
~/myapp $ docker-compose up -dIn a few moments you will be able to make a request against our new web service and see the value of our test:key:
~/myapp $ curl $(triton ip myapp_webserver_1):8000abc123
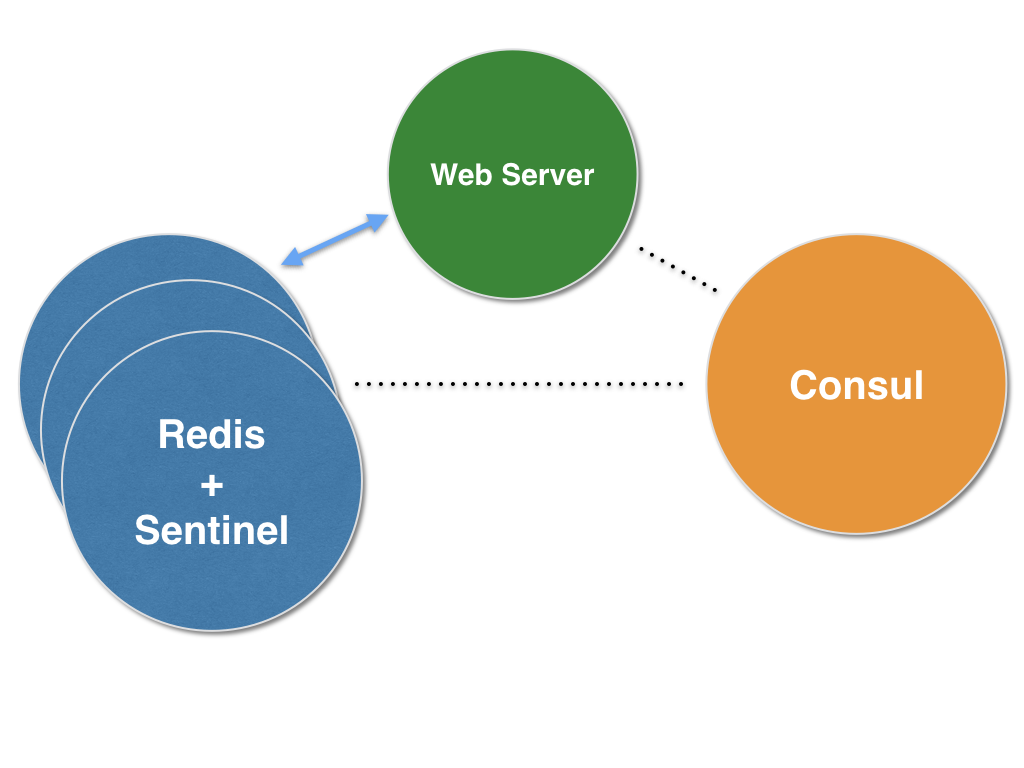
The sample Node.js web server we just deployed is itself an Autopilot pattern application. It leverages ContainerPilot to register its dependency on Redis so that it's notified (via piloted) when the topology of our Redis cluster changes, whether it results from scaling up/down, failure, etc. When the web server first starts, and any time it is notified of a change in our Redis cluster, it updates its Redis connection to include all known Sentinel processes.
Final thoughts
Normally it would take a substantial amount of time to read through the docs for each step in setting up a highly available Redis cluster, not to mention the time for implementing and testing. Thankfully, Redis on Autopilot automates practically all of this work, giving us a tested, production-ready Redis service in a matter of minutes. We'd love to hear how you've put it to use!
Post written by Jason Pincin


